SMBImg allows the creation of customizable screenshots for Twitter, Instagram, App Store, Product Hunt, Facebook, Open Graph, and more. With it, you can beautify a background, create a watermark for your image or screenshot, export output, save presets and automatically apply the last customizations.
In this article, we will describe in detail how SMBImg screenshot tool can be used.
To start go to Dashboard and click there “Make a screenshot” button. Now you are in SMBImg editor.
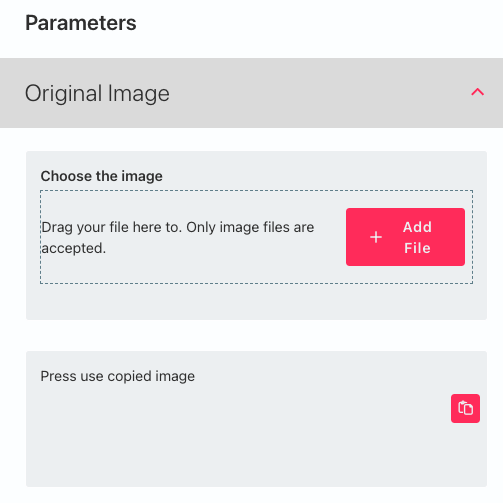
1. Choose an image you want to beautify.
For it, you have two options:
- Click the “Add file” button and upload the image from a file directory.
OR
- Click the button "Paste" or with hotkeys cmd+P insert a copied file from the clipboard.
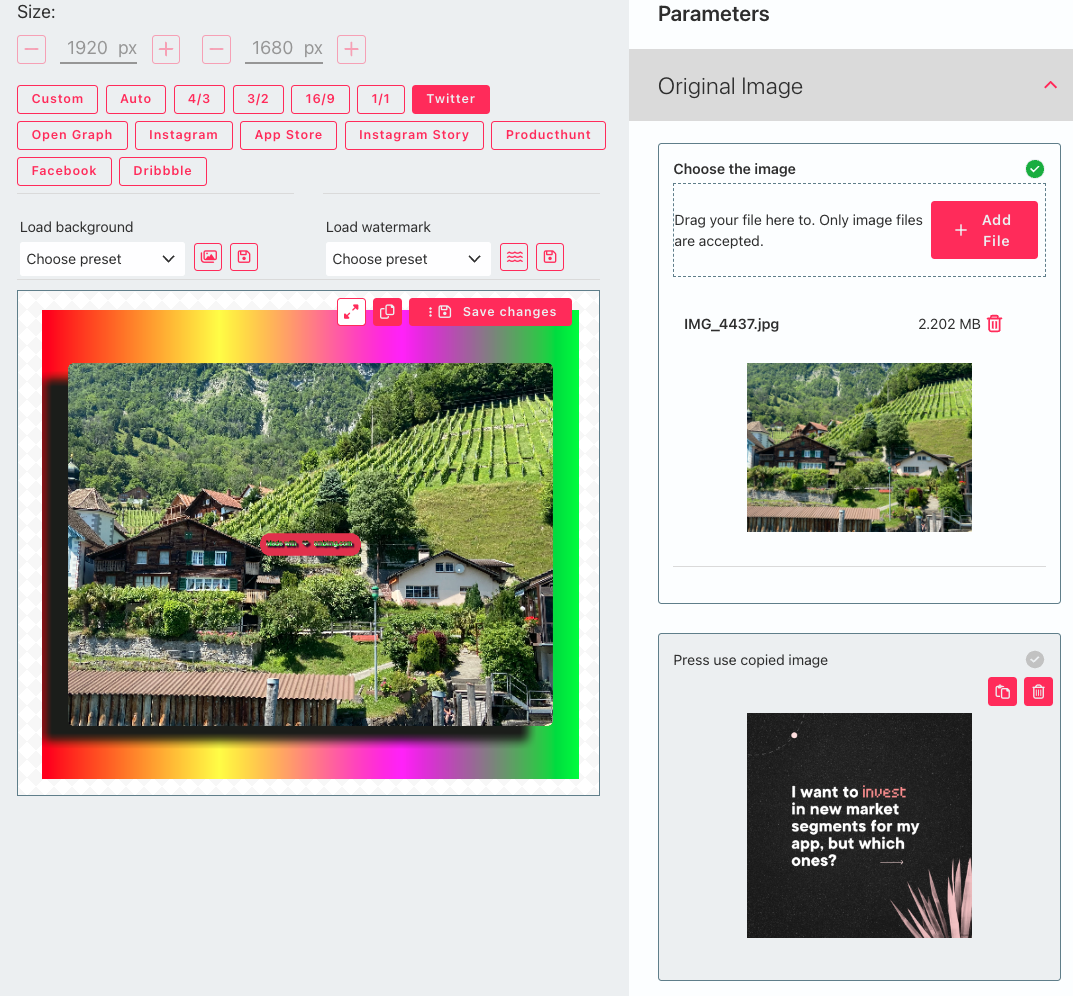
Now choose the size of the resulting image depending on your purpose. Do you want to do a social media post or put up a custom size?
Now zoom your image as you need and set up a border radius (rounded corners).
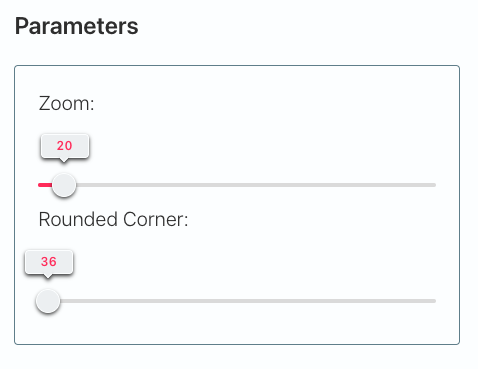
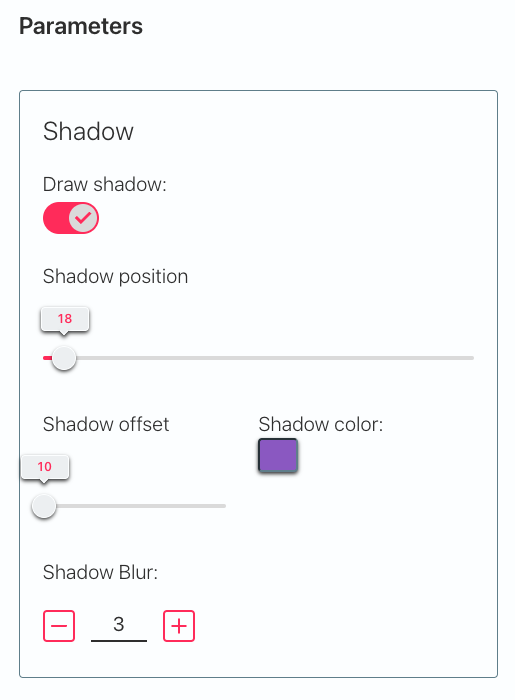
Finally decide whether you want to have a shadow or not. If you don’t need it, just disable the option “Draw it”. If yes, set up shadow parameters (position, color, offset and blur) as you like.
Super! Let’s go to the next step.
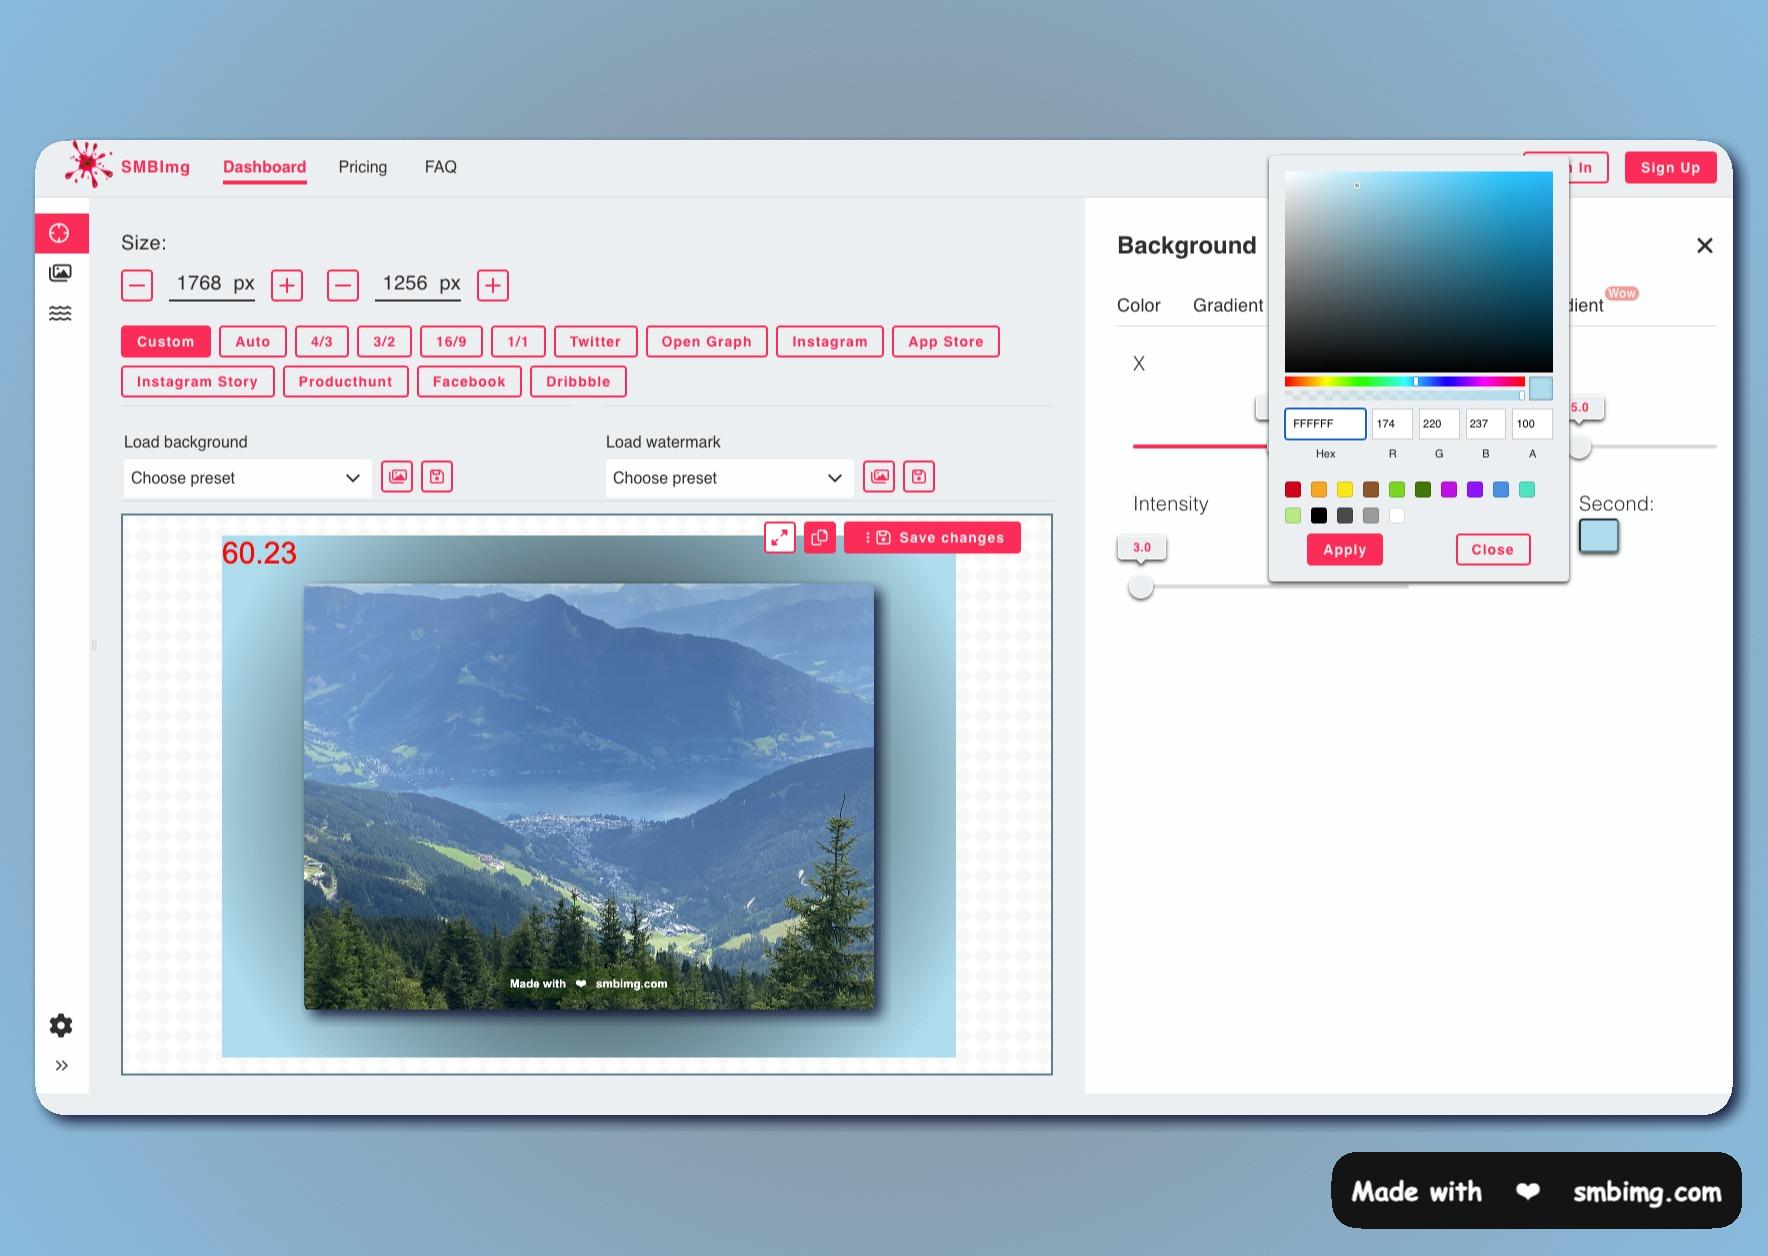
2. Customize background.
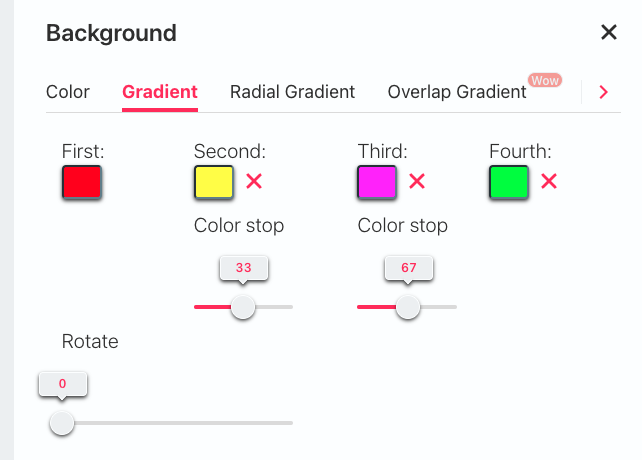
Click the button “Background” from the right side of the dropdown menu “Load background”.

The Background size panel will appear. Here you can find 4 options: Color, Gradient, Radial Gradient and Overlap Gradient. Use “Color” tab for setting up a solid color background or select one of the others to make your background more interesting. Just choose the option you want. It’s easy!
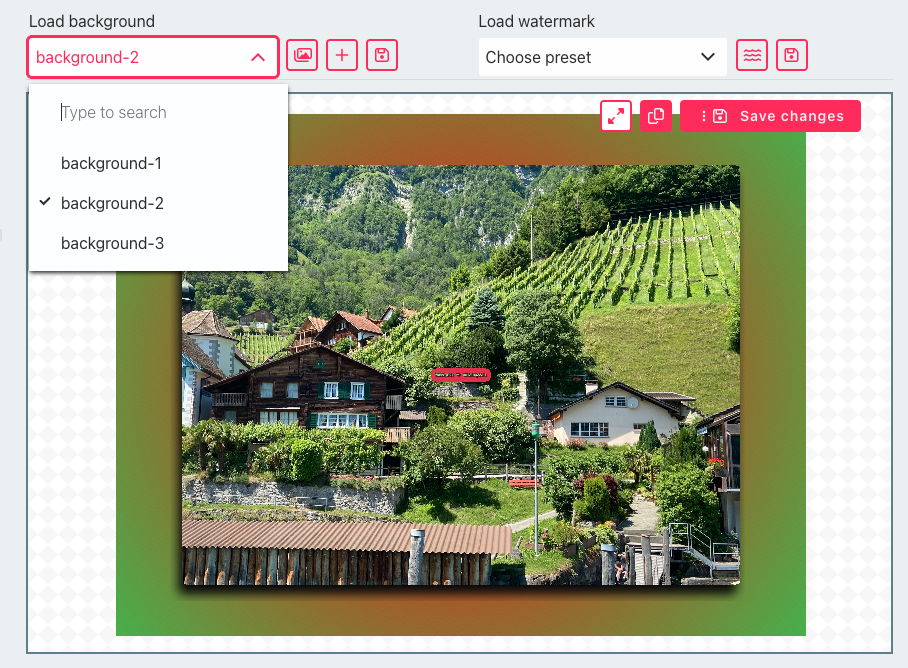
If you have a paid subscription ("early birds" or "Standard" tariff plans) and saved background presets you can choose the wanted background preset among the saved ones. It can significantly save your time and do your post (for example on social media) more recognizable.
Great! Let's move on.
3. Customize watermark
Having your own watermark can be extremely important if you create personalized content. It’ll increase the recognition of your posts and brand.
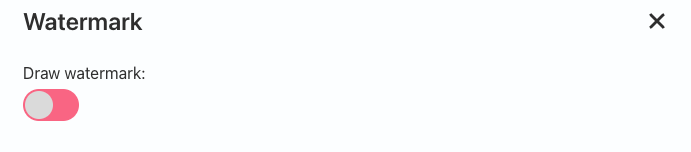
To start click the button “Watermark” from the right side of the dropdown menu “Load watermark” (similar to background). The Watermark size panel will appear.
If you don’t need a watermark just switch it off. Unlike many similar programs, SMBImg gives this functionality in the free version.
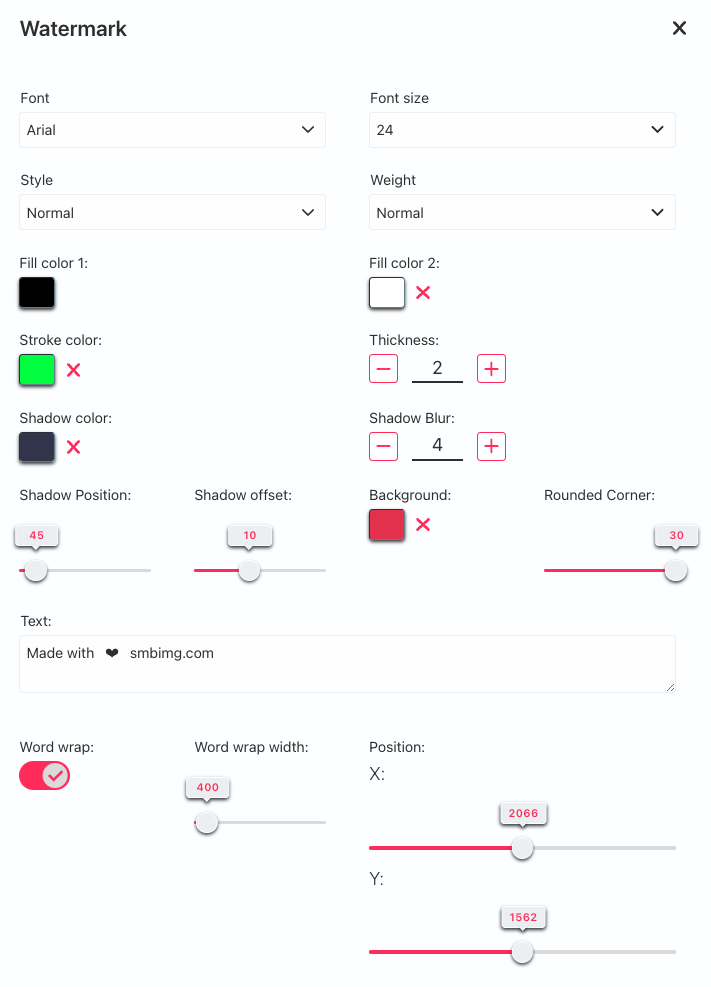
Otherwise, style your watermark as you want, change the font, font size, style, weight, text, shadow parameters, watermark position, etc.
If you have a paid subscription and saved watermark presets you can choose the wanted watermark preset among the saved ones. If you want to save yourself time, we recommend using this function. By combining saved backgrounds with saved watermarks, it takes less than a minute to create a beautiful, vibrant screenshot.
And, finally, the last step.
4. Export the output.
There are two options for saving your result image:
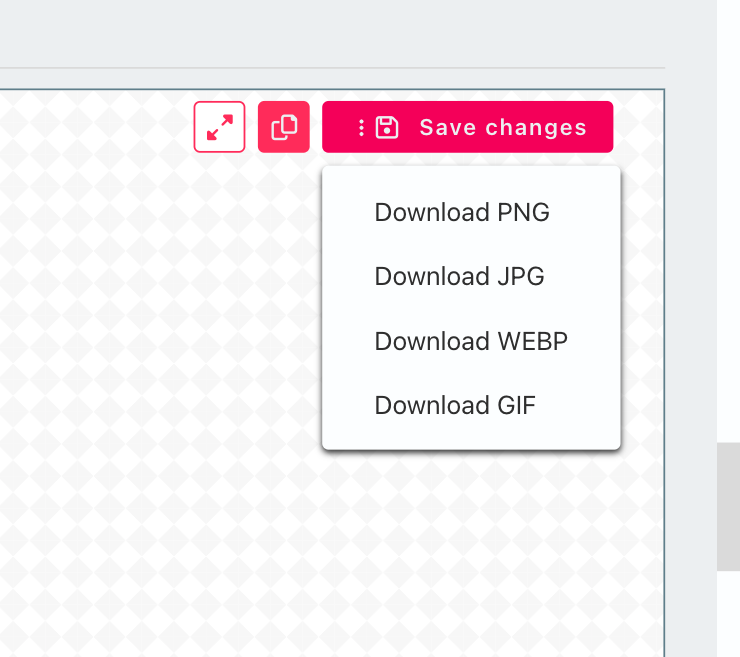
- Click the button ”Save changes” on the right top corner and choose the format of the file to download. It can be png, jpg, webp or gif file.
OR
- Click the button “Copy” to the left of the button “Save changes” to save your image to the clipboard and insert it then where you want.
Here you are! That's easy and fast, but the result is amazing. Try it right now.